battle plan showing ayub khan (emir of afghanistan), attempt to enter afghanistan, 1880s, skirmish at manu, military history - afganistan war stock illustrationsBattle plan showing Ayub Khan (Emir of Afghanistan), attempt to enter Afghanistan, 1880s, Skirmish at Manu, Military HistoryMap
colonel galbraith at battle of maiwand, second anglo-afghan war - afganistan war stock illustrationsColonel Galbraith at Battle of Maiwand, Second Anglo-Afghan War
highlanders clearing village during battle of baba wali, 1880 - afganistan war stock illustrationsHighlanders clearing village during Battle of Baba Wali, 1880
british soldiers of 67th regiment attacked by afghans, 1879 - afganistan war stock illustrationsBritish soldiers of 67th Regiment attacked by Afghans, 1879
antique photograph of british navy and army: kurram valley, afghanistan - afganistan war stock illustrationsAntique photograph of British Navy and Army: Kurram Valley, AfghanistanMen
second anglo-afghan war (1878), halftone print, published in 1900 - afganistan war stock illustrationsSecond Anglo-Afghan War (1878), halftone print, published in 1900Army
british infantry in action during expedition against the bunerwals, the taking of the tanga pass, 19th century mountain warfare, royal west kent regiment - afganistan war stock illustrationsBritish Infantry in action during Expedition against the Bunerwals, the Taking of the Tanga Pass, 19th Century mountain warfare, Royal West Kent RegimentArmy
death of piece afghanistan - afganistan war stock illustrationsDeath Of Piece AfghanistanBird, Dove - Bird
retribution, burning the villages of the malikden khels, maidan, pakistan, 1890s, 19th century - afganistan war stock illustrationsRetribution, Burning the villages of the malikden khels, Maidan, Pakistan, 1890s, 19th Century
british army division crossing logar river during second anglo-afghan war - afganistan war stock illustrationsBritish army division crossing Logar river during Second Anglo-Afghan War
trying to save the guns, second anglo-afghan war - afganistan war stock illustrationsTrying to save the guns, Second Anglo-Afghan War
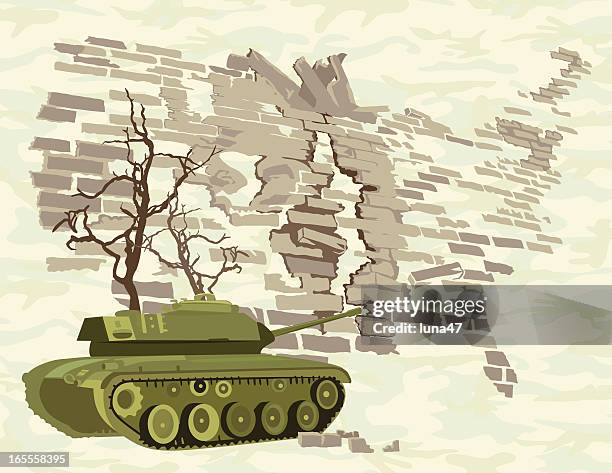
war and the united states - afganistan war stock illustrationsWar and the United StatesVector, Vietnam War
british army approching kandahar, afghanistan, during second anglo-afghan war - afganistan war stock illustrationsBritish army approching Kandahar, Afghanistan, during Second Anglo-Afghan War
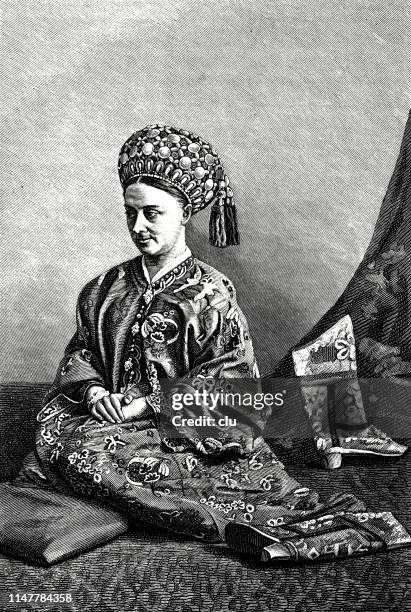
favourite wife of schir ali kahn, afghanistan - afganistan war stock illustrationsFavourite wife of Schir Ali Kahn, AfghanistanSenior Adult
plan of the siege of kabul, 1879, second anglo-afghan war - afganistan war stock illustrationsPlan of the Siege of Kabul, 1879, Second Anglo-Afghan WarMap, Military, Asia
general sir henry havelock-allan, he was killed by afridi clansmen on the afghanistan side of the khyber pass in 1897 - afganistan war stock illustrationsGeneral Sir Henry Havelock-Allan, he was killed by Afridi clansmen on the Afghanistan side of the Khyber Pass in 1897British Culture
afganistan map with navigation icons - afganistan war stock illustrationsAfganistan map with navigation icons
place in the khyber pass where general sir henry havelock-allan, died, victorian military history, 19th century - afganistan war stock illustrationsPlace in the Khyber Pass where General Sir Henry Havelock-Allan, died, Victorian Military History, 19th Century
british royal artillery in action during expedition against the bunerwals, the taking of the tanga pass, 19th century warfare - afganistan war stock illustrationsBritish Royal Artillery in action during Expedition against the Bunerwals, the Taking of the Tanga Pass, 19th Century warfare
troops at kandahar 1880,mix of british infantry, sikh or native indian regiments, and highlanders with field artillery cannons, a regimental flag/standard, and an elephant transport/war animal in the background - afganistan war stock illustrationsTroops at Kandahar 1880,mix of British infantry, Sikh or native Indian regiments, and Highlanders with Field artillery cannons, a regimental flag/standard, and an elephant transport/war animal in the background
plan showing march of general frederick roberts to peiwar kotal - afganistan war stock illustrationsPlan showing march of General Frederick Roberts to Peiwar Kotal
iraq flag international dialogue & conflict management - afganistan war stock illustrationsIraq Flag International Dialogue & Conflict Management
plan of the battle of kandahar, 1880, second anglo-afghan war - afganistan war stock illustrationsPlan of the Battle of Kandahar, 1880, Second Anglo-Afghan War
antique photograph of british navy and army: khojak tunnel, pakistan - afganistan war stock illustrationsAntique photograph of British Navy and Army: Khojak Tunnel, PakistanEngland, English Culture
funeral of private hine of the yorkshire regiment on the battlefield in the bazar valley the tirah campaign, british empire military history, 1890s, 19th century - afganistan war stock illustrationsFuneral of Private Hine of the Yorkshire Regiment on the Battlefield in the Bazar Valley the Tirah campaign, British Empire Military History, 1890s, 19th Century
president leaving the dying country with a sack of cash, soldiers are stuck in the ground - afganistan war stock illustrationsPresident leaving the dying country with a sack of cash, Soldiers are stuck in the ground
expedition against the bunerwals, taking the tanga pass, british military history, mountain warfare - afganistan war stock illustrationsExpedition against the Bunerwals, Taking the Tanga Pass, British military history, Mountain warfare
afganistan map with navigation icons - afganistan war stock illustrationsAfganistan map with navigation icons
plan of battle of ahmed khel, afghanistan, 1880 - afganistan war stock illustrationsPlan of Battle of Ahmed Khel, Afghanistan, 1880
antique photograph of british navy and army: pakistan - afganistan war stock illustrationsAntique photograph of British Navy and Army: Pakistan
british royal artillery in action during expedition against the bunerwals, the taking of the tanga pass, 19th century warfare - afganistan war stock illustrationsBritish Royal Artillery in action during Expedition against the Bunerwals, the Taking of the Tanga Pass, 19th Century warfare
antique photograph of british navy and army: material for the railway to kandahar - afganistan war stock illustrationsAntique photograph of British Navy and Army: Material for the Railway to Kandahar
antique photograph of british navy and army: khojak tunnel, pakistan - afganistan war stock illustrationsAntique photograph of British Navy and Army: Khojak Tunnel, Pakistan
plan of the battle of maiwand, second anglo-afghan war - afganistan war stock illustrationsPlan of the Battle of Maiwand, Second Anglo-Afghan War
schir ali khan, emir of afghanistan, 1825 - 1879 - afganistan war stock illustrationsSchir Ali Khan, Emir of Afghanistan, 1825 - 1879
plan of the battle of peiwar kotal, second anglo-afghan war - afganistan war stock illustrationsPlan of the Battle of Peiwar Kotal, Second Anglo-Afghan War
plan of british attack on ali masjid fort, 1878 - afganistan war stock illustrationsPlan of British attack on Ali Masjid Fort, 1878Plan - Document
plan of battle of charasiab, 1879, second anglo-afghan war - afganistan war stock illustrationsPlan of Battle of Charasiab, 1879, Second Anglo-Afghan WarMap
plan of general burrows' march to helmund, second anglo-afghan war - afganistan war stock illustrationsPlan of General Burrows' march to Helmund, Second Anglo-Afghan WarMap